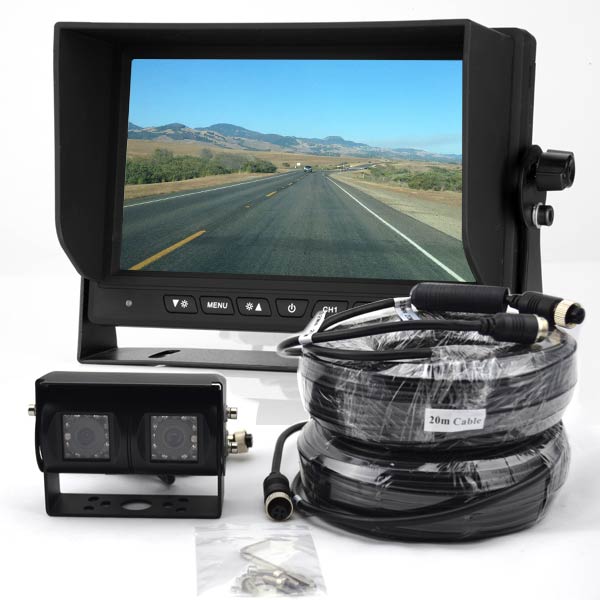
How to Wire a Backup Camera and a Monitor Step by Step
Step By Step Backup Camera Installation Guide
Step 1. Initial Planning
Your first step is to plan your installation very well. This includes deciding on a camera and monitor combination, as well as marking out the exact areas that you wish to install them.
You could choose a license plate camera for example, and connect it with a dash or rear-view monitor.
The choice is yours to make here, just make sure though, that you have all the necessary tools for installing both camera and monitor in your desired locations.
Cautions: Depending on where you decide to install the camera and the monitor, you may need to drill holes through the car’s body. This is to allow the wire to pass through. So, plan properly ahead.
Step 2. Camera Installation
Now that you have decided on where to install the camera and the monitor, your next step is to install the camera.


Depending on the type of camera that you have, you may need to drill a hole or just tighten screws during this installation step.
Cautions: One important thing to note here is that the camera should face backward and that its view is not obstructed in any way. You should also make sure that the camera sits properly, and that a simple car bump or jerk, will not loosen it in any way. The third caution is making sure that the installation spot is not too far away and that it fits the cable length.
Step 3. Camera-Cables Installation
Your camera will come with 2 cables. One cable will have a yellow plug while the other will have a red one.
The yellow plug is usually attached to the video cable, while the red plug will be the camera’s power supply.
Connect the yellow plug to the extension wire with yellow plugs, and run the extension through the car to the dash area.
Connect the second cable to the red plug, run it to your reverse light, and connect it.
Cautions: You will need to open up your reverse light, and this process is different, depending on your car and model. Note that the power cable has a black and a red wire. These should be connected correspondingly to the black and red wires of your car’s backup light. You will notice a short cable which is also attached to each end of the video cable with the yellow plugs. This is the trigger wire, attach the camera side of it to the red wire of your brake light.
Step 4. Monitor Installation
There are different types of rear view monitors that you can install in your car. There are dash-monitors, which can be flush mounted. There are also monitors which can be mounted on a stand on top of the dash or from the windshield. You could also opt for rear-view mirror mounted monitors. These are usually the smallest.
Step 5. Monitor-Cables Installation
This part could be simple or tricky, depending on the type of monitor that you have.
This includes its features and capabilities. There are monitors with a trigger-wire system, while there are those with a video-sensing system. All other wires basically remain the same.
You will find a video wire with a yellow plug from your monitor, connect it to the yellow plug from the extension cable. You will also find a power cable from the monitor, connect this one to a power source.
Cautions: The preferred power source for monitors is usually the fuse bus. You should also make sure the monitor only starts after ignition, so that you can preserve your battery. If the monitor uses a video sensing technology, then just leave the video connection the way it is. If the monitor uses a trigger wire, then attach its trigger wire to the one on the extension cable.
Step 6. Testing the System
After you have installed and connected everything together, your next and last step is to test your installation. Simply start the ignition, change to reverse gear, and your backup camera image should come on.
Cautions: If there are any issues, then do not panic. Slowly check every single connection, and make sure that everything is correct. Make sure that the red/plus/positive ends of a cable connect to red/plus/positive on other cables, and that black/minus/negative connects to black/minus/negative as well. Also, check the power sources to make sure that they are correctly connected, and that no fuse has blown.
Conclusion
If you strictly follow this backup camera installation guide and all goes well, then your backup camera system should be correctly installed and fully functional.
